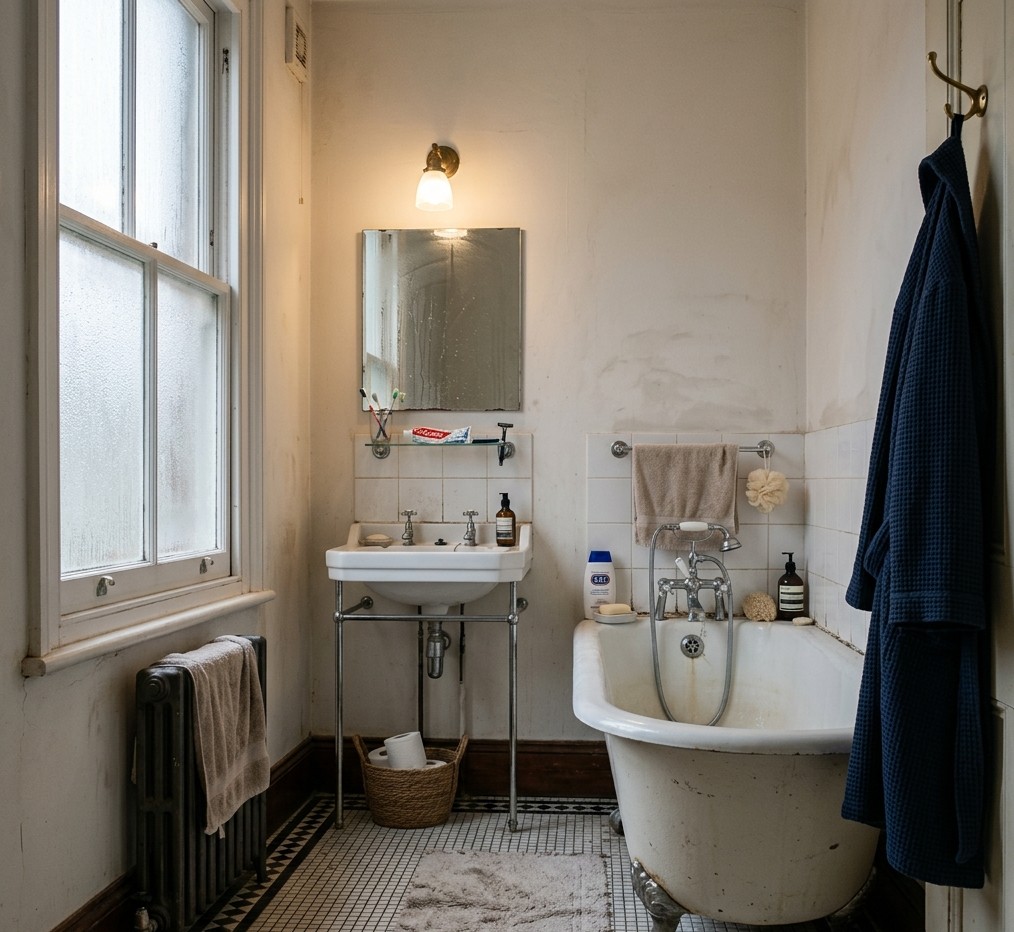
There is a particular kind of dread that settles over you when you’re showing a friend around your Victorian conversion flat for the first time. The cornicing is glorious. The sash windows are magnificent. The cast-iron fireplace is quietly collecting all the compliments it deserves. And then someone goes to use the bathroom. You already know what they’re going to find before they’ve even opened the door – that creeping black line along the bath sealant, sitting there like a villain’s moustache, undermining every period feature in the room.
The good news – and this is genuinely good news – is that you do not need to rip out tiles, demolish your grout, or commission a full bathroom renovation to fix it. In most cases, black mould on bathroom sealant responds well to treatment at home, and in trickier cases, only the sealant itself needs replacing. Not the grout, not the tiles, not your bank balance. Here is how to approach it properly.
Why Victorian Bathrooms Are Basically Mould’s Dream Home
Before you blame your cleaning habits, it is worth understanding why Victorian-era London bathrooms are so disproportionately prone to this problem. These buildings were not designed with wet rooms in mind. Plumbing was a later addition to structures built around solid brick, lime plaster, and ventilation that was never really intended to cope with daily showers. The walls breathe differently to modern cavity-wall construction – which sounds poetic until you realise it means they hold moisture in ways that contemporary bathrooms simply do not.
Add to that the reality of most London conversions: a single sash window facing a lightwell, a bathroom with no external wall at all, or an extractor fan installed sometime during the early 2000s and barely serviced since. The result is a room that never fully dries out between uses. Mould does not need much persuasion. Give it warmth, residual humidity, and a porous surface like silicone sealant, and it will move in before you’ve finished towelling off. This is not a housekeeping failure. It is a structural reality of period housing in a damp northern capital city.
Know Your Enemy – Mould, Staining, or Both?
Is It Actually Alive, or Just Ugly?
Not everything black in a sealant line is active, living mould – and the distinction matters enormously, because it determines your entire treatment strategy.
Active mould has a slightly fuzzy or powdery texture when dry, often carries a persistent musty smell, and responds visibly to bleach-based products within minutes. You can confirm it with a simple test: dab a small amount of diluted household bleach onto the affected area and leave it for two minutes. If the discolouration lightens or clears, you are dealing with living mould. If it sits there looking completely unbothered, you are looking at deep-set staining – pigmentation that has been absorbed into degraded silicone over months or years. No cleaning product will reverse that, regardless of what the label promises. In that case, the sealant itself needs replacing.
Running this test before you reach for the products saves a great deal of time, money, and misplaced optimism.
Building Your Mould-Busting Arsenal
The Bleach Brigade – When to Reach for the Heavy Stuff
For active mould, chlorine-based treatments are the most effective option available to domestic users – full stop. The key is not the active ingredient itself but the formulation. Thin, watery bleach sprays run straight off vertical sealant lines before they have had any meaningful contact time with the surface. What you want is a thick gel formula.
Products such as HG Mould Spray, Astonish Mould and Mildew Remover, or own-brand thick bleach gel available from most supermarkets all perform reliably well. The viscosity keeps the product against the sealant long enough to penetrate and kill rather than simply pass through. Apply generously and do not rinse prematurely – we will cover the exact process shortly.
One important note for Victorian tile owners: original glazed ceramic tiles are generally robust, but unglazed encaustic tiles – the decorative geometric floor tiles found in many period properties – can be damaged by prolonged bleach contact. Keep the product on the sealant line and away from surrounding surfaces where possible.
Gentler Alternatives for the Bleach-Averse
If bleach is not an option – due to asthma, household pets, or any reason of your own choosing – a 3% hydrogen peroxide solution applied with a cotton pad is a reasonable secondary approach. It is slower and less reliable on established mould, but workable on mild cases. White vinegar and bicarbonate of soda paste attract considerable enthusiasm online; to be candid, they are better suited to ongoing maintenance between deeper treatments than to shifting a genuine infestation.
The Step-by-Step Treatment Process
Prep Work – Don’t Skip This Bit
Good results begin before you open a single bottle. Open every window and door available to you – ventilation in a Victorian bathroom is already poor, and adding chlorine fumes to the equation is unpleasant at best. Rubber gloves are non-negotiable. Eye protection is sensible, particularly when applying sprays overhead.
Before applying any treatment, scrub the sealant line with an old toothbrush and warm soapy water to remove loose surface debris and soap scum. Then – and this step is almost universally skipped in DIY guides – dry the sealant with a cloth or sheet of kitchen roll. Applying gel treatment to a wet surface immediately dilutes the active ingredient before it has done anything useful. Two minutes with a dry cloth before you start makes a measurable difference to the final result.
Application, Dwell Time, and the Finish
Apply your gel product directly along the full length of the affected sealant. Here is the professional trick worth knowing: lay a strip of kitchen roll over the gel, then press a length of cling film over the top to seal it in. This prevents the product from drying out and significantly extends active contact time. Leave it for a minimum of two to four hours; overnight is considerably better for established growth. Do not be tempted to check on it every twenty minutes.
When the time is up, remove the cling film and tissue, scrub firmly along the sealant line with your toothbrush, and rinse thoroughly with clean water. In most cases – provided the mould is active rather than deep-set staining, and the sealant is structurally sound – the result will be dramatically cleaner. Repeat once if any discolouration persists.
When Cleaning Isn’t Enough – Targeted Sealant Replacement Without Touching the Grout
How to Remove and Replace Just the Sealant Bead
Here is what most bathroom renovation horror stories fail to mention: silicone sealant and tile grout are entirely separate materials, applied separately, and fully removable independently of one another. The sealant is the flexible bead running along the join between the bath or shower tray and the wall tiles. The grout fills the gaps between the tiles themselves. If the sealant is past saving – cracked, peeling, or stained too deeply for any product to shift – you can remove and replace only the sealant bead without disturbing a single tile or a single line of grout.
Score along both edges of the old sealant with a sharp Stanley knife, then work the bead loose in sections. An oscillating multi-tool with a scraper blade speeds the job considerably, though a patient hand and a good knife will achieve the same result. Once the channel is clear, clean it with methylated spirit to remove any residue before applying fresh sealant. Choose a bathroom-grade, anti-fungal silicone – the anti-fungal element is not mere marketing; it genuinely delays mould re-colonisation. Apply in one smooth pass, tool the bead flat using a finger dampened with a washing-up liquid solution, and allow it to cure fully before using the bath or shower. Your original Victorian tiling remains entirely undisturbed throughout.
Keeping It Gone – Long-Term Prevention in Victorian Bathrooms
The Ventilation Problem, and What You Can Actually Do About It
Retrofitting meaningful mechanical ventilation into a Victorian conversion is not always simple – planning restrictions, the particular obstinacy of period architecture, and shared building logistics all create complications. But there is a great deal you can achieve without drilling a single new hole in a wall.
The single most effective daily habit costs nothing: the post-shower squeegee. Thirty seconds running a rubber blade down the tiles and across the bath surround removes the bulk of surface moisture before it has any chance to build residual humidity. Leaving the bathroom door open after use allows that remaining moisture to disperse rather than sit and accumulate. A compact dehumidifier – positioned either in the bathroom itself or in the hallway drawing damp air away from the room – makes a tangible long-term difference in period properties where built-in ventilation is poor. And when the time comes to replace sealant regardless, choosing an anti-fungal silicone product gives you a meaningful head start on whatever comes next.
When to Call in the Professionals
Not every mould situation is a sealant problem in disguise. If mould returns within weeks of thorough treatment, appears on walls or ceilings rather than just the sealant line, or if you notice damp patches, bubbling paintwork, or a persistent musty smell that survives every cleaning effort, you are likely dealing with a structural damp issue – rising damp, penetrating moisture from outside, or a slow plumbing leak creating hidden damp within the wall. These require investigation that goes well beyond what any bottle of mould spray can offer.
Similarly, if coverage is extensive – spreading across grout lines over large tile areas, or appearing in multiple rooms – a professional deep clean and damp assessment is the appropriate response. A professional treatment will also reach the less accessible corners of a bath surround that domestic tools genuinely struggle with: the tight junction of corner joins, the silicone-to-tile edge, the awkward space behind taps.
Black mould on Victorian bathroom sealant is, in the great majority of cases, a solvable problem. It responds to the right products, a methodical approach, and a little patience. These buildings have survived a century and a half of London weather. With the right care, the bathrooms can more than rise to the occasion.